Typing
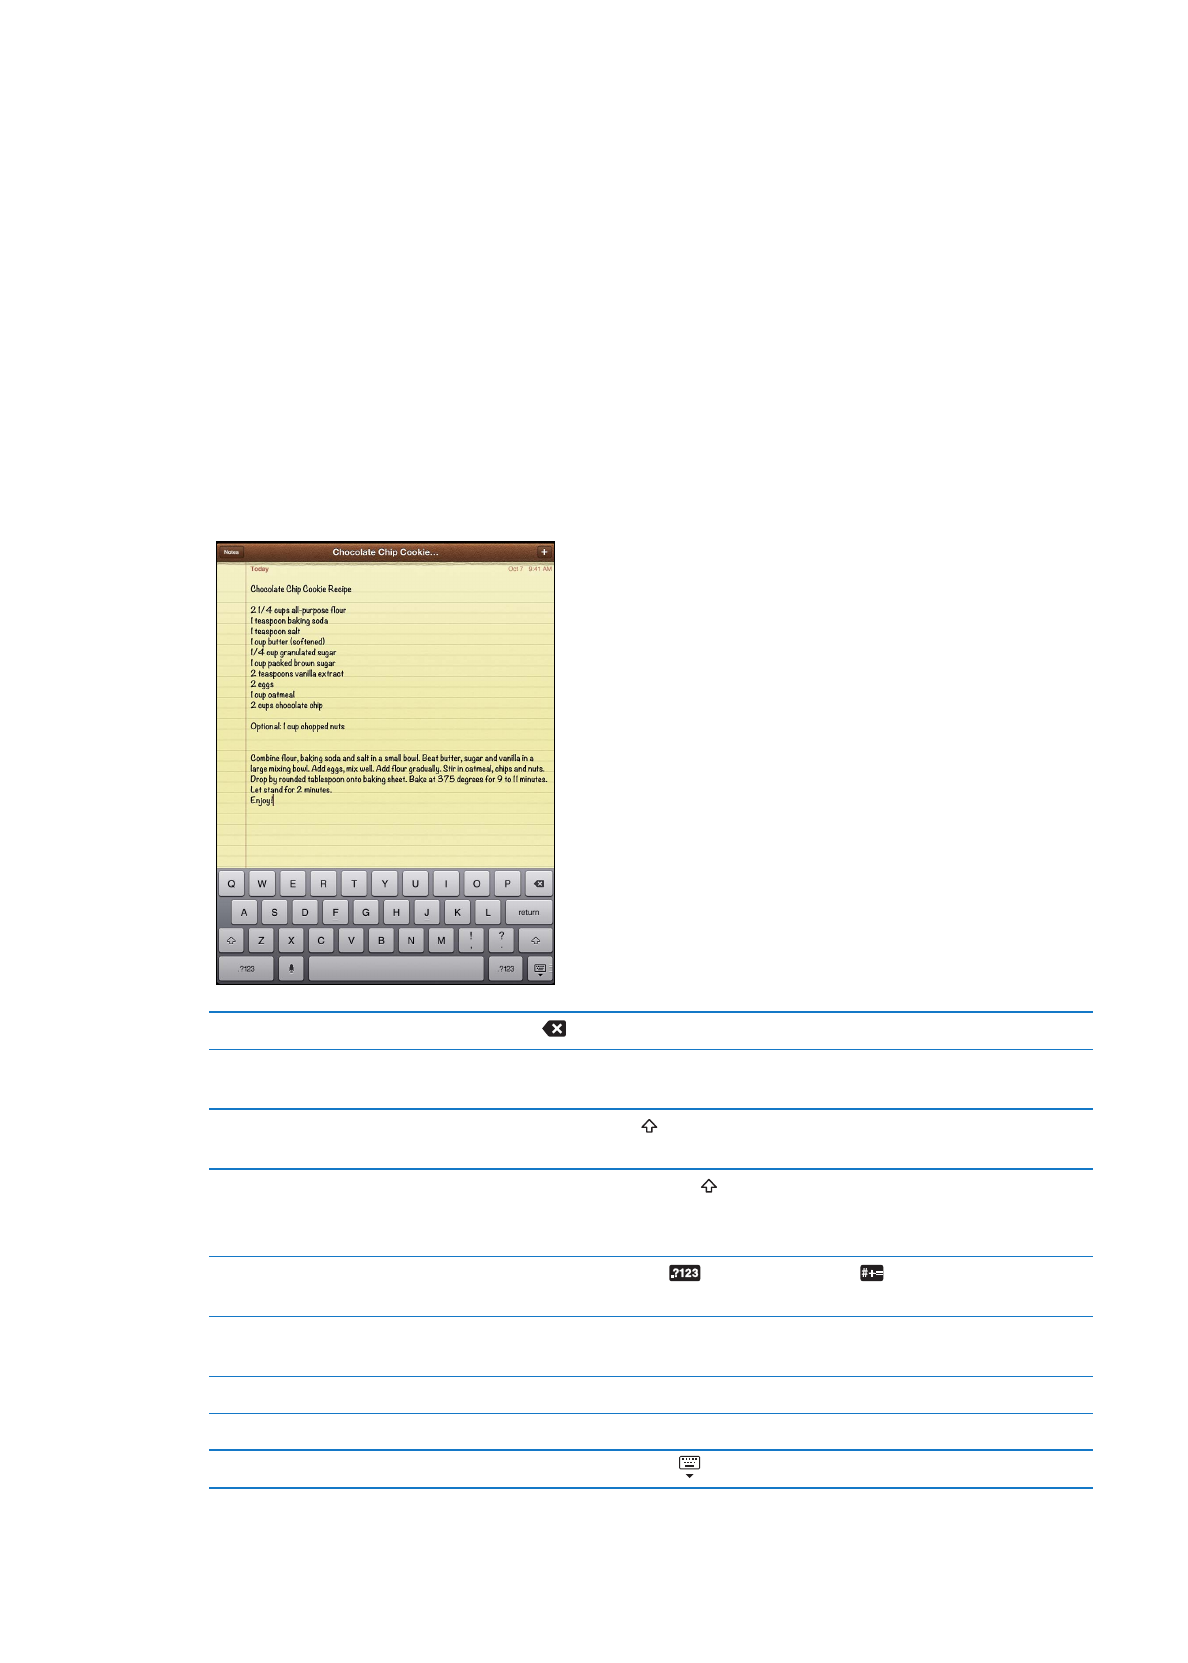
The onscreen keyboard appears automatically anytime you need to type. Use the keyboard
to enter text, such as contact information, mail, and web addresses. The keyboard corrects
misspellings, predicts what you’re typing, and learns as you use it.
You can also use an Apple Wireless Keyboard to type. When you use an external keyboard, the
onscreen keyboard doesn’t appear. See “Using an Apple Wireless Keyboard” on page 31.
Entering text
Depending on the app you’re using, the intelligent keyboard may automatically suggest
corrections as you type, to help prevent mistyped words.
Enter text: Tap a text field, such as in a note or new contact, to bring up the keyboard, then tap
keys on the keyboard.
If you touch the wrong key, you can slide your finger to the correct key. The letter isn’t entered
until you release your finger from the key.
Delete the previous character
Tap
.
Quickly type a period and space
Double-tap the space bar. To turn this feature off, go to Settings >
General > Keyboard.
Type uppercase
Tap the Shift key before tapping a letter. Or touch and hold the Shift key,
then slide to a letter.
Turn caps lock on
Double-tap the Shift key . The Shift key turns blue, and all letters you
type are uppercase. Tap the Shift key to turn caps lock off.
To turn this feature off, go to Settings > General > Keyboard.
Enter numbers, punctuation,
or symbols
Tap the Number key
. Tap the Symbol key
to see additional
punctuation and symbols.
Enter accented letters or other
alternate characters
Touch and hold the related key, then slide to choose a variant.
Use autocorrection to enter “’ll”
Type “lll.” For example, type “youlll” to get “you’ll.”
Set options for typing
Go to Settings > General > Keyboard.
Hide the onscreen keyboard
Tap the Keyboard key .
28
Chapter 3
Basics
Dictation
On an iPad that supports dictation, you can dictate text instead of typing it on the onscreen
keyboard. For example, you can dictate a message in Mail or a note in Notes. To use Dictation,
iPad must be connected to the Internet.
Turn on Dictation: Go to, Settings > General > Keyboard > Dictation.
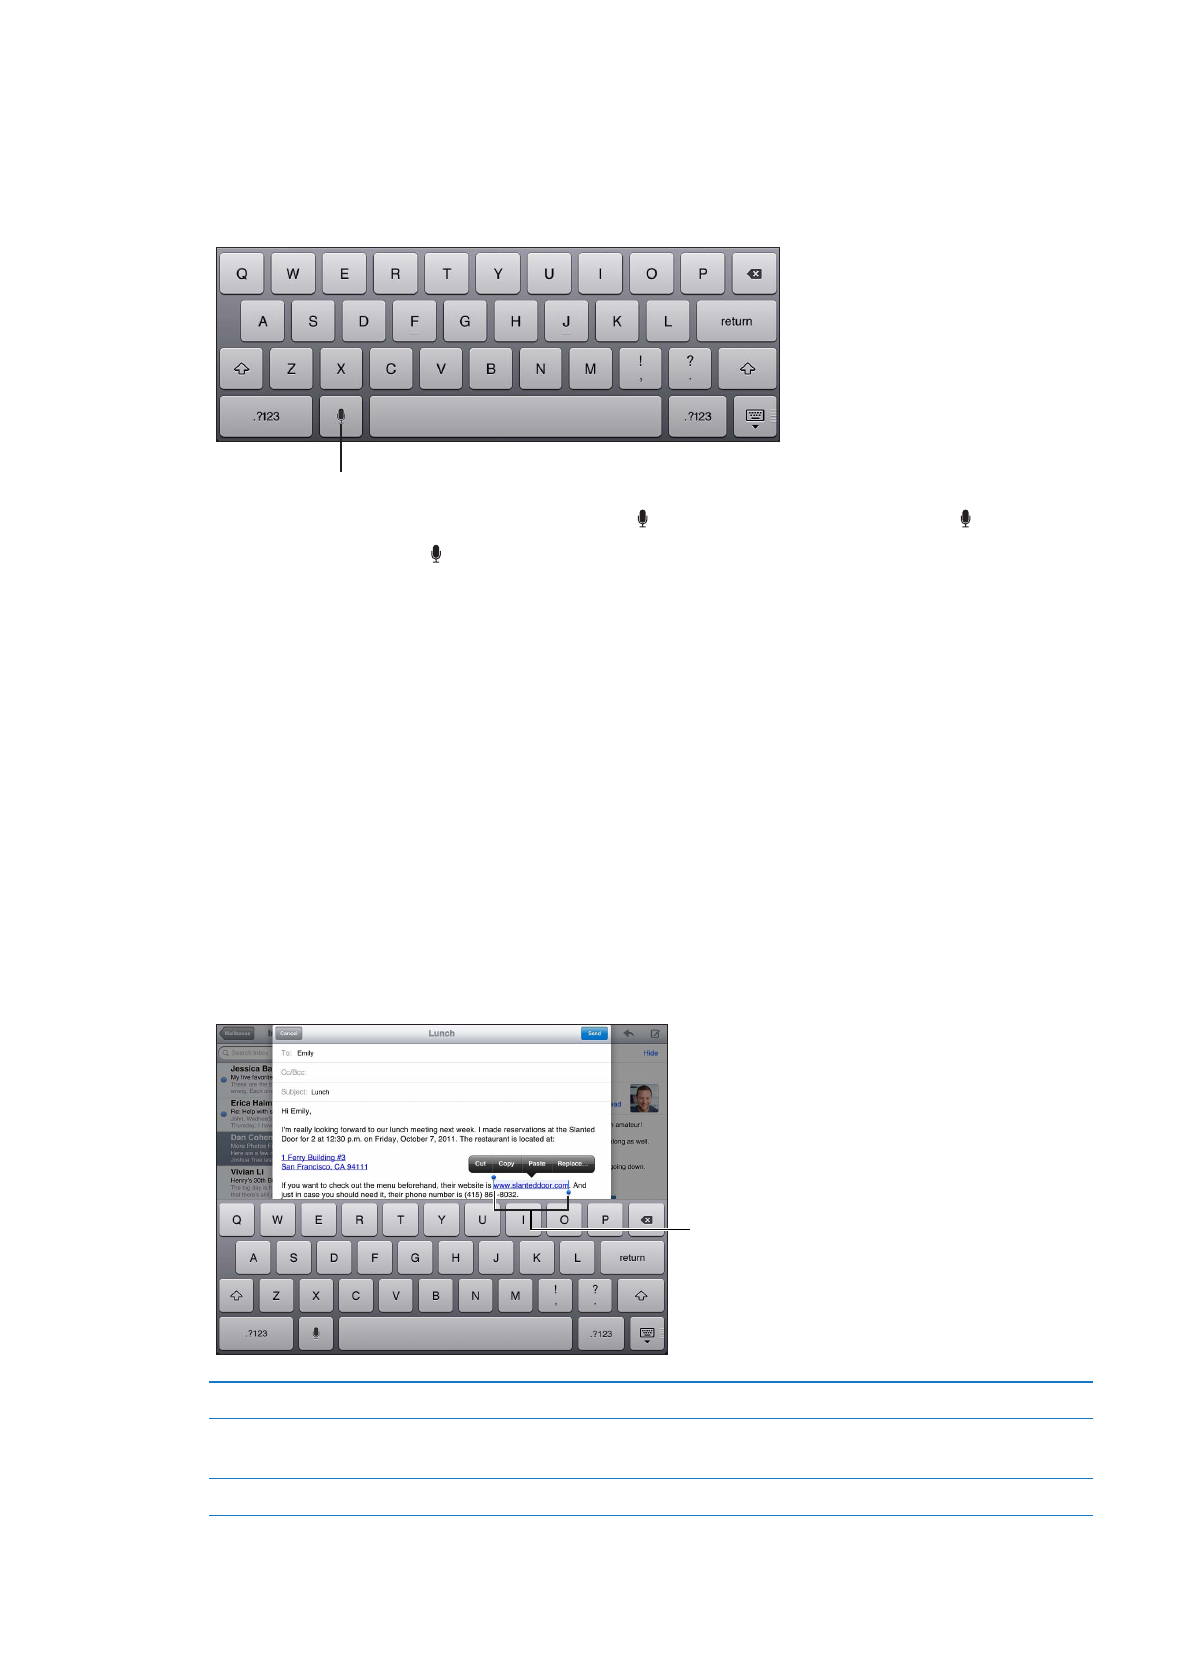
Tap to begin dictation.
Tap to begin dictation.
Dictate text: From the onscreen keyboard, tap , then dictate. When you finish, tap again.
Add to a message: Tap again and continue dictating.
Enter punctuation: Say the punctuation mark.
Note: Dictation may not be available in all languages or in all areas, and features may vary by area.
Cellular data charges may apply.
Editing text
The Multi-Touch screen makes it easy to change the text you’ve entered. An onscreen magnifying
glass helps you position the insertion point right where you need it. Grab points let you select
more or less text. You can also cut, copy, and paste text and photos within apps, or across apps.
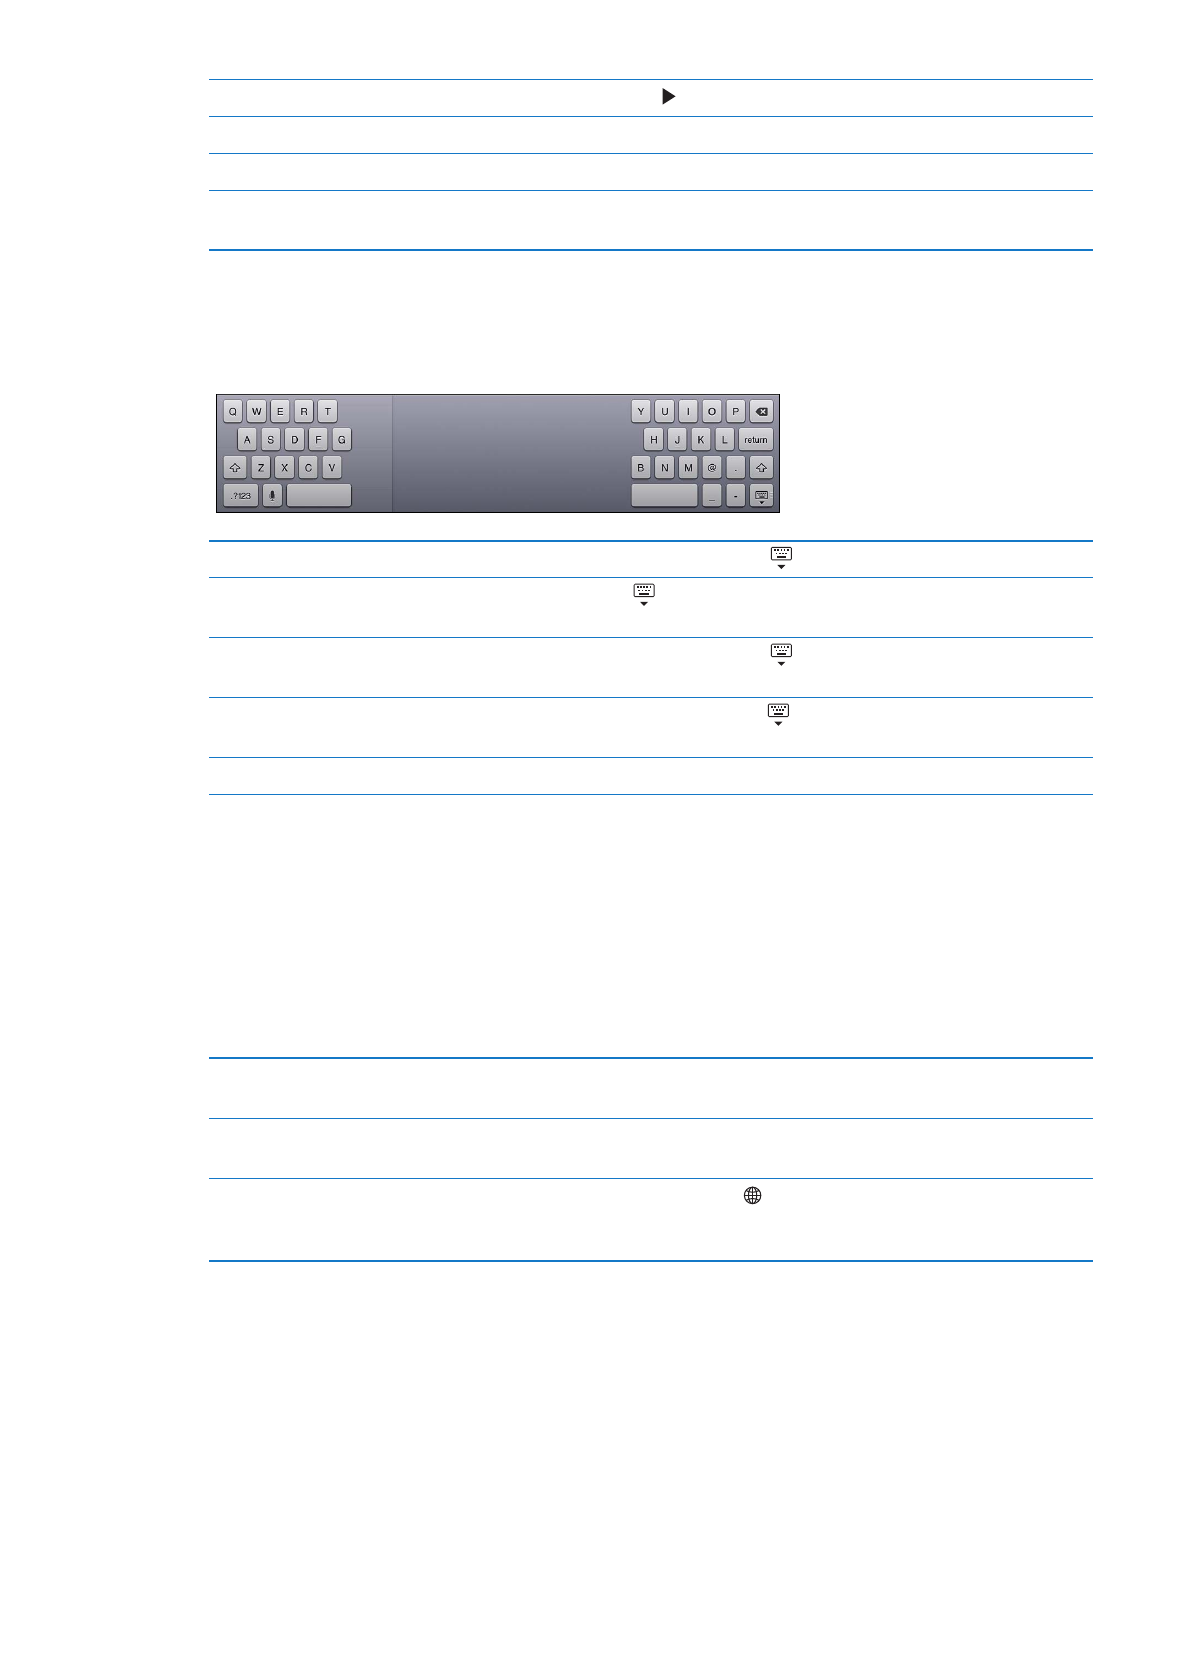
Position the insertion point: Touch and hold to bring up the magnifying glass, then drag to
position the insertion point.
Select text: Tap the insertion point to display the selection buttons. Tap Select to select the
adjacent word, or tap Select All to select all text. You can also double-tap a word to select it.
Drag the grab points to select more or less text. In read-only documents, such as webpages, or
messages you receive, touch and hold to select a word.
Grab points
Grab points
Cut or copy text
Select text, then tap Cut or Copy.
Paste text
Tap the insertion point, then tap Paste to insert the last text that you cut or
copied. Or, select text, then tap Paste to replace the text.
Undo the last edit
Shake iPad.
29
Chapter 3
Basics
Make text bold, italic, or underlined When available, tap , then tap B/I/U.
Find a definition for a word
Tap a word to select it, then tap Define.
Find alternative words
Tap a word, tap Select, then tap Suggest, and tap a suggested word.
Justify text
When available, select the text you want to justify, then tap the left arrow or
the right arrow.
Keyboard layouts
On iPad, you can type with a split keyboard that’s at the bottom of the screen, or undocked and in
the middle of the screen.
Use a split keyboard
Touch and hold the Keyboard key , slide your finger to Split, then release.
Move the keyboard
Touch and hold , slide your finger to Undock to move the keyboard to
the middle of the screen, then release.
Return to a full keyboard
Touch and hold the Keyboard key , slide your finger to Dock and Merge,
then release.
Return a full keyboard to the
bottom of the screen
Touch and hold the Keyboard key , slide your finger to Dock, then release.
Turn Split Keyboard on or off
Go to Settings > General > Keyboard > Split Keyboard, then tap On or Off.
You can use Settings to set the layouts for the onscreen software keyboard and for any hardware
keyboards. The available layouts depend on the keyboard language. See Appendix B, “International
Keyboards,” on page 132.
For each language, you can choose different layouts for the onscreen software keyboard and for
any external hardware keyboards. The software keyboard layout determines the layout of the
keyboard on the iPad screen. The hardware keyboard layout determines the layout of an Apple
Wireless Keyboard connected to iPad. See “Using an Apple Wireless Keyboard” on page 31.
Select a hardware or software
keyboard layout
Go to Settings > General > International > Keyboards, tap a language, then
choose a software or hardware keyboard layout.
Add or remove an
international keyboard
Go to Settings > General > International > Keyboards.
Use an international keyboard
Touch and hold the Globe key on the onscreen keyboard to display a
list of enabled languages, then slide your finger to choose a language. See
Appendix B, “International Keyboards,” on page 132.
30
Chapter 3
Basics
Auto-correction and spell checking
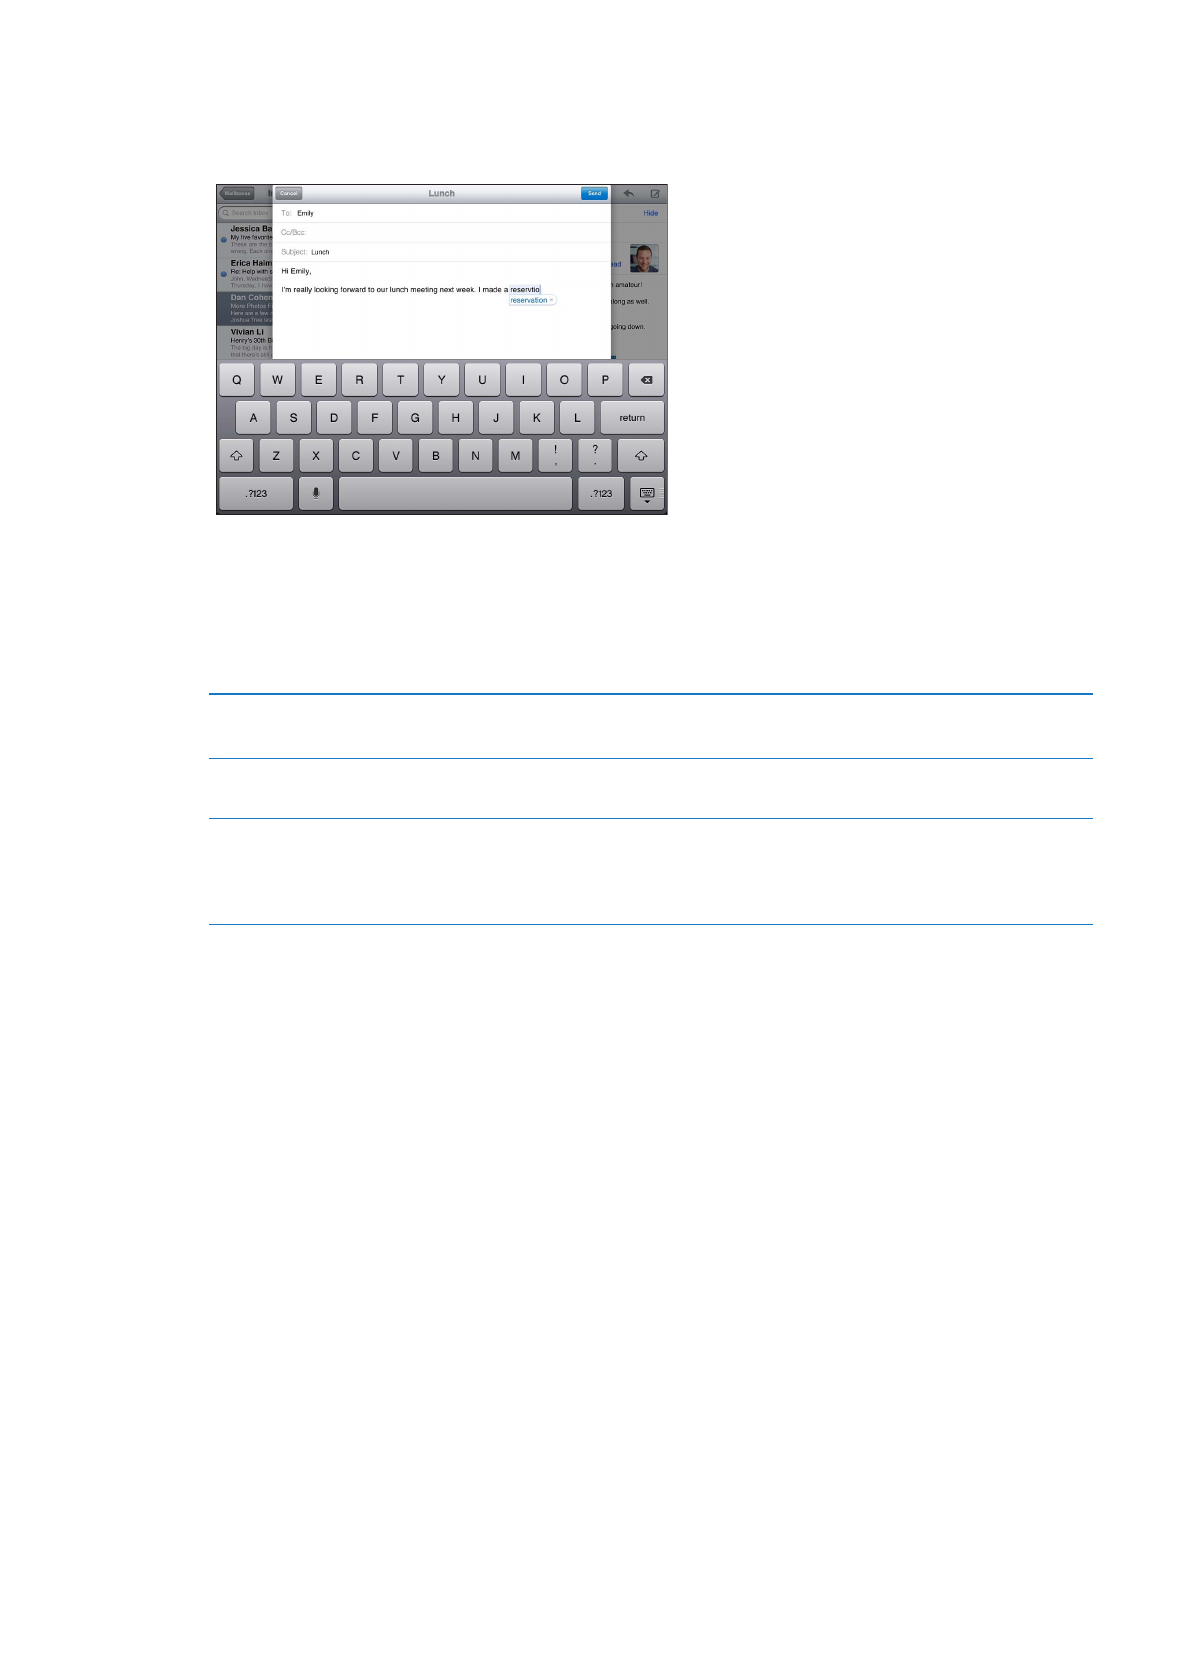
For many languages, iPad automatically corrects misspellings or makes suggestions as you type.
When iPad suggests a word, you can accept the suggestion without interrupting your typing.
Accept the suggestion: Type a space, punctuation mark, or return character.
Reject a suggestion: Finish typing the word as you want it, then tap the “x” next to the suggestion.
Each time you reject a suggestion for the same word, iPad becomes more likely to accept the word.
iPad may also underline words you’ve already typed that might be misspelled.
Replace a misspelled word
Tap the word, then tap one of the alternate spellings.
If the word you want doesn’t appear, just retype it.
Turn auto-correction or
spell checking on or off
Go to Settings > General > Keyboard.
Add a word to the
keyboard dictionary
Go to Settings > General > Keyboard. Tap Add New Shortcut. Enter the
word in the Phrase field, but leave the Shortcut field blank. This adds
the word to the keyboard dictionary and it won’t be identified as being
misspelled when you type it.
Shortcuts
Shortcuts lets you type just a few characters instead of a longer word or phrase. The expanded text
appears whenever you type the shortcut. For example, the shortcut “omw” expands to “On my way!”
Create a shortcut: Go to Settings > General > Keyboard, then tap Add New Shortcut.
To add a word or phrase to the keyboard dictionary so that iPad doesn’t try to correct or replace it,
leave the Shortcut field blank.
Edit a shortcut: Go to Settings > General > Keyboard, then tap the shortcut.
Using an Apple Wireless Keyboard
In addition to the onscreen keyboard, you can also use an Apple Wireless Keyboard with iPad.
The Apple Wireless Keyboard connects using Bluetooth, so you must pair the keyboard with iPad.
See “Pairing Bluetooth devices” on page 37.
Once the keyboard is paired with iPad, it connects whenever the keyboard is within range (up to
33 feet or 10 meters). You can tell that the keyboard is connected if the onscreen keyboard doesn’t
appear when you tap in a text field.
Switch the language when using a hardware keyboard: Hold down the Command key and tap
the space bar to display a list of available languages. Tap the space bar again to choose a language.
31
Chapter 3
Basics
Disconnect a wireless keyboard from iPad: Hold down the power button on the keyboard until
the green light goes off.
iPad disconnects the keyboard when it’s out of range.
Unpair a wireless keyboard from iPad: In Settings, go to General > Bluetooth, tap next to the
keyboard name, then tap “Forget this Device.”
You can apply different layouts to a wireless keyboard. See Appendix B, “International
Keyboards,” on page 132 and “Keyboard layouts” on page 30.